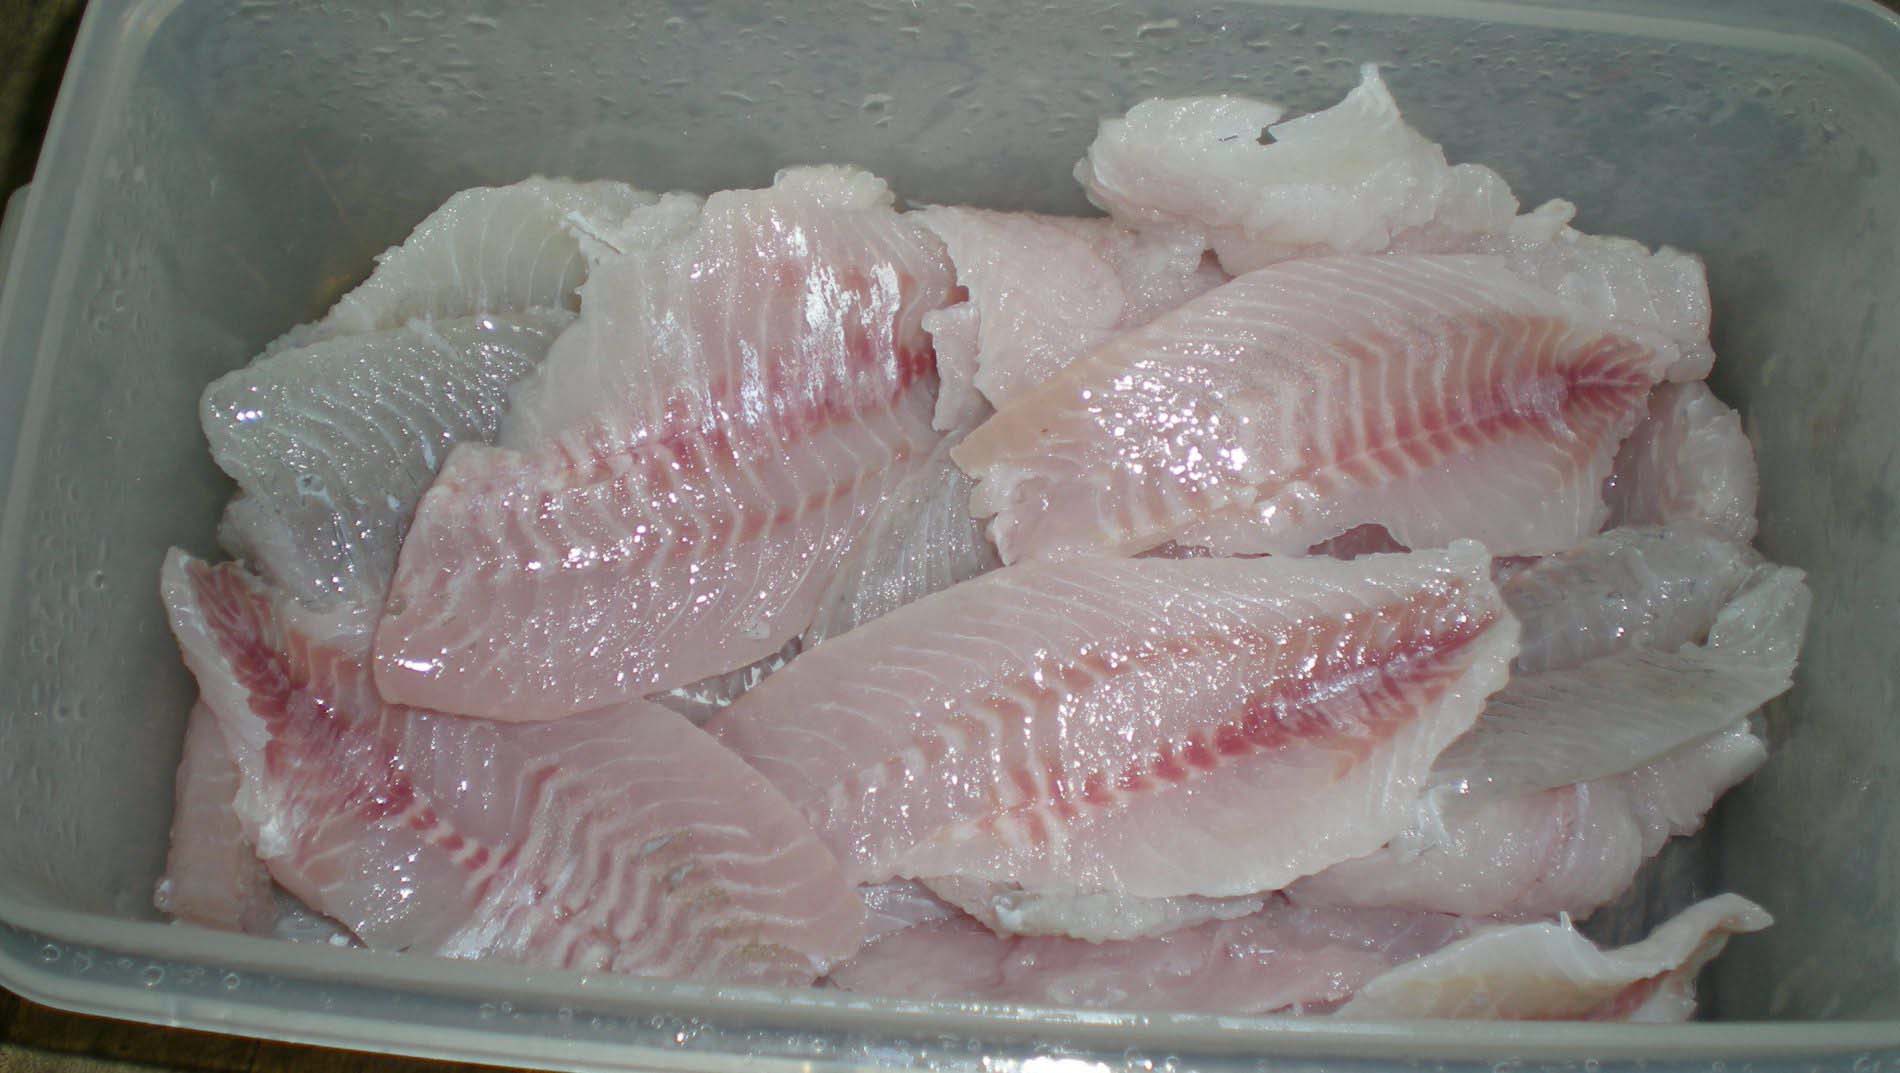
How to Fillet a Fish
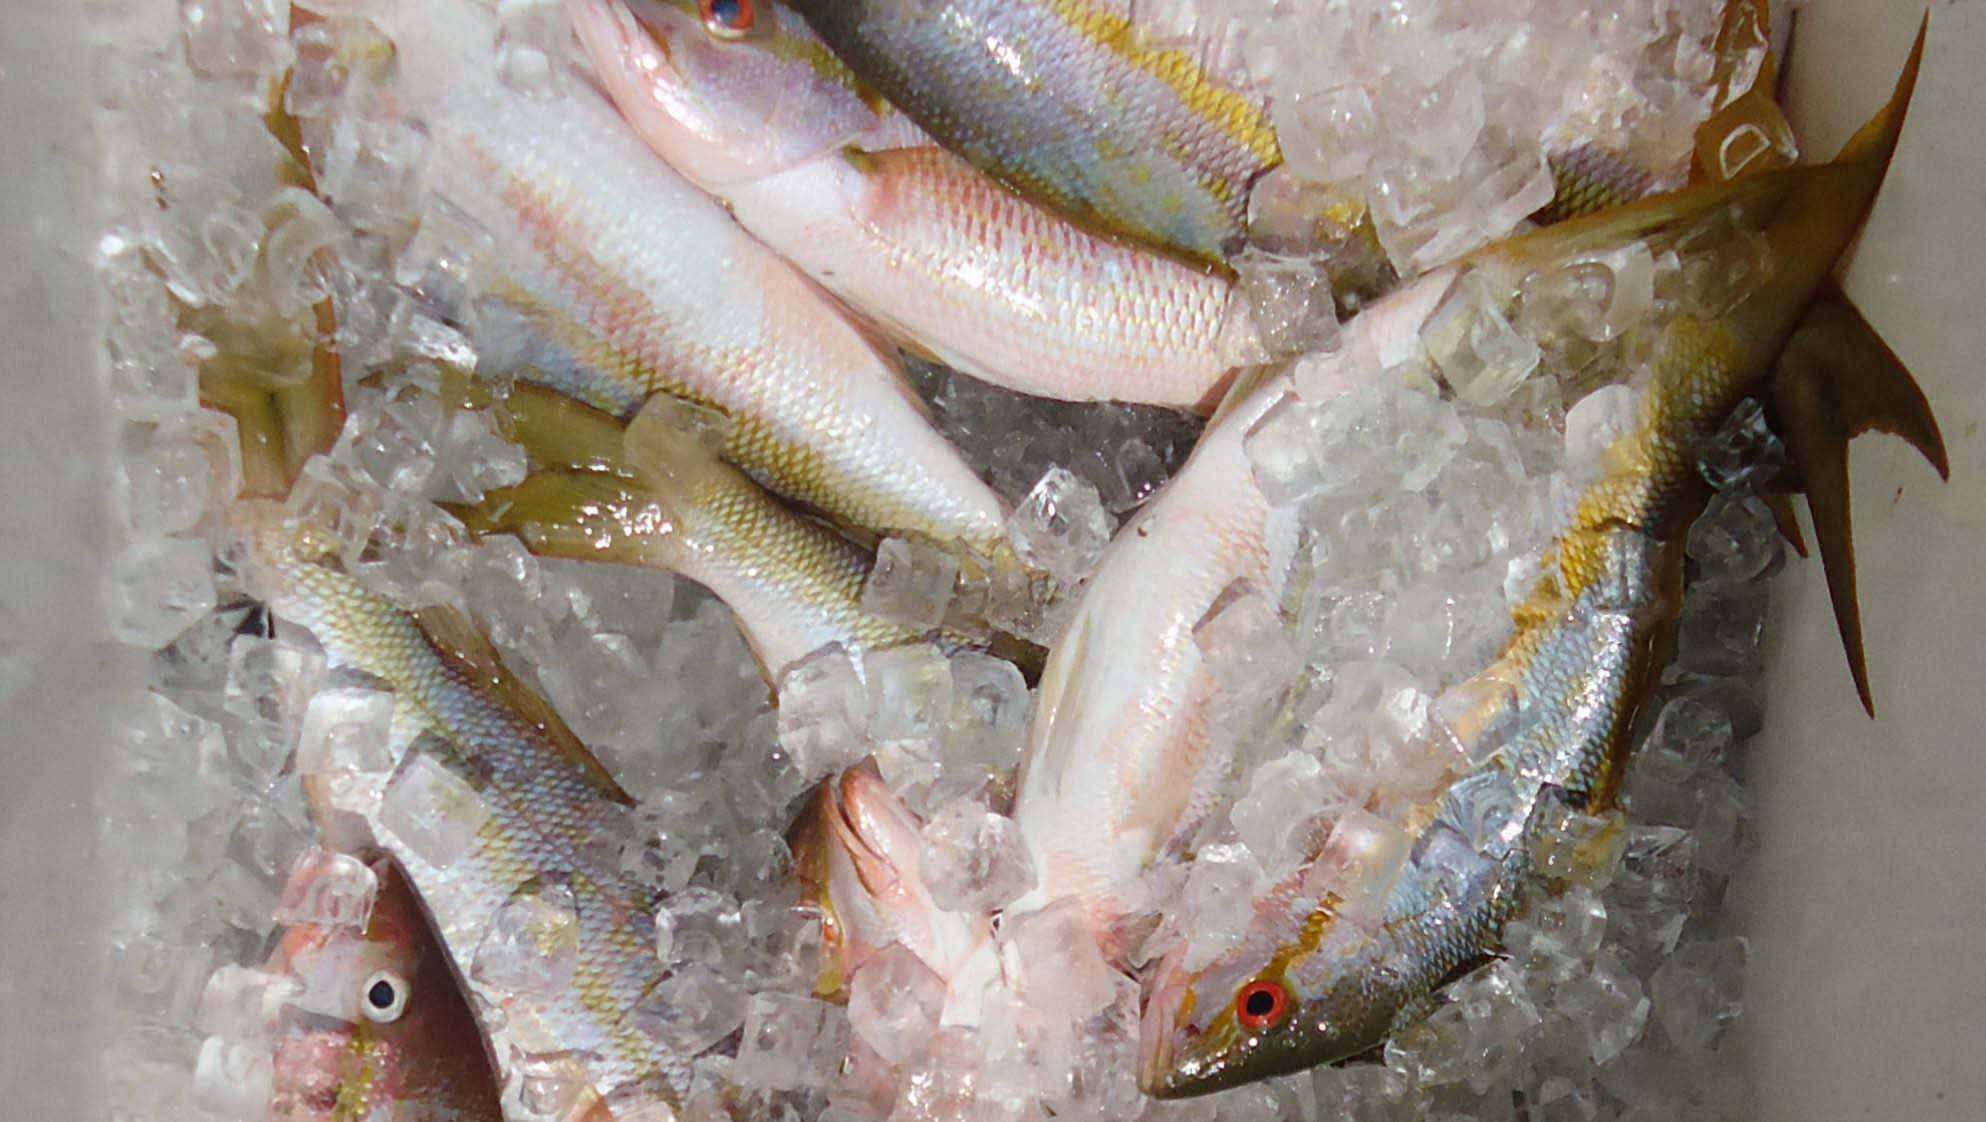
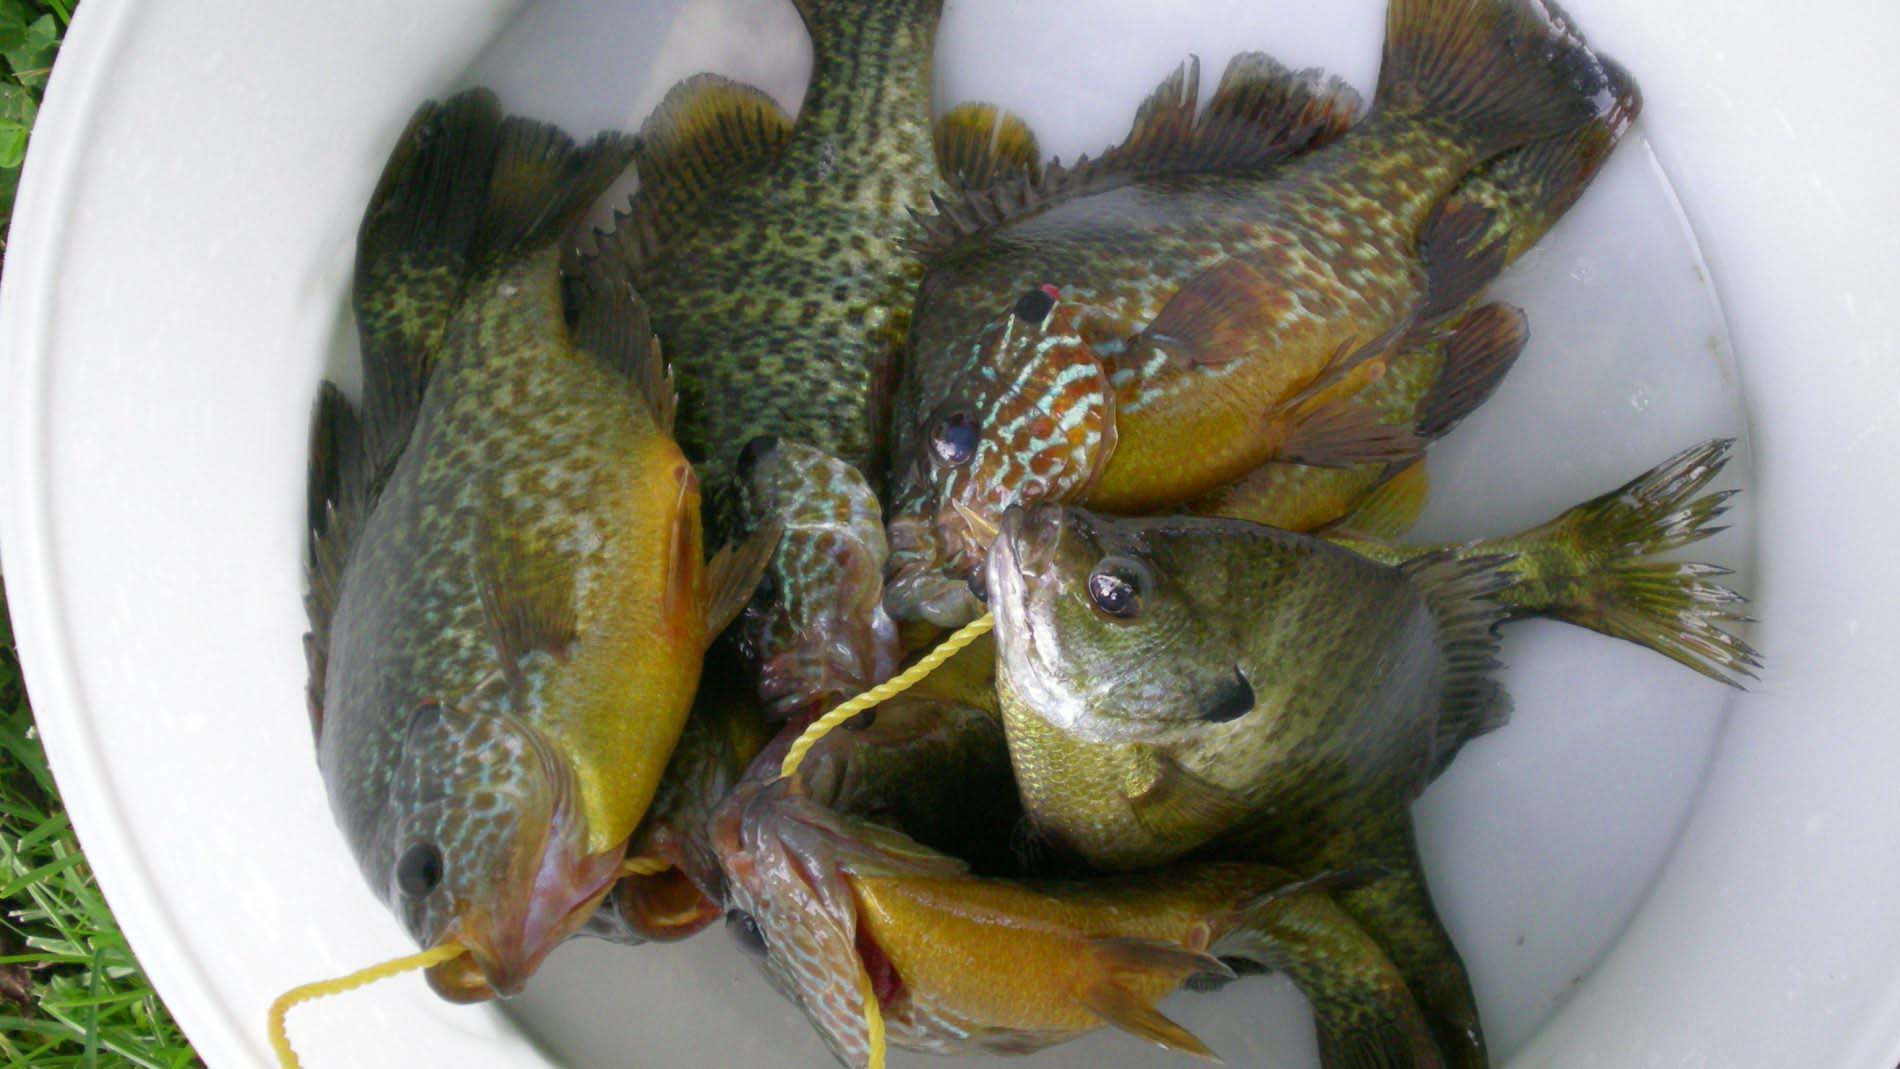
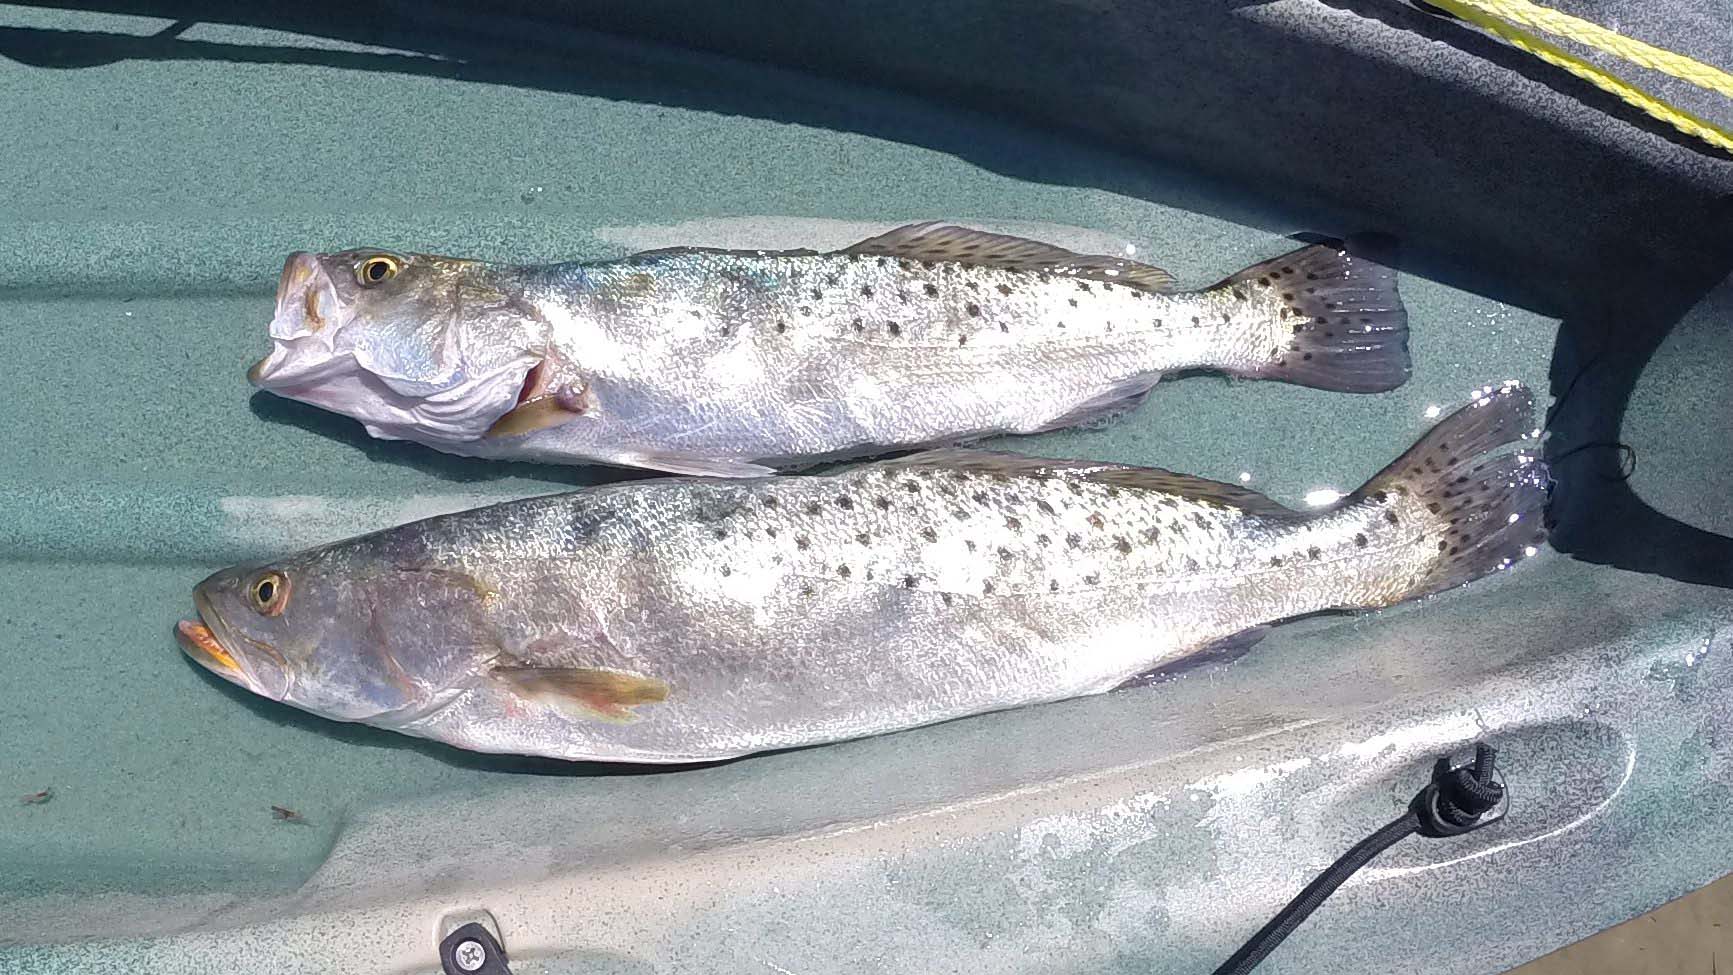
You’ve had a great day of fishing and your catch is within all the legal limits and sitting on ice, what now? Here are some steps to fillet reasonably sized fish like trout, panfish, or catfish. These steps will give you clean fillets with very few bones or wasted meat.
Tips Before You Start
- Check your local wildlife fishing guides for rules and regulations on keeping game fish.
- Ensure the area you’re taking fish from has good water quality.
- Always use a sharp fillet knife.
- Fish can be stored in the fridge for three days. If you don’t plan to eat it before that time then freeze it.
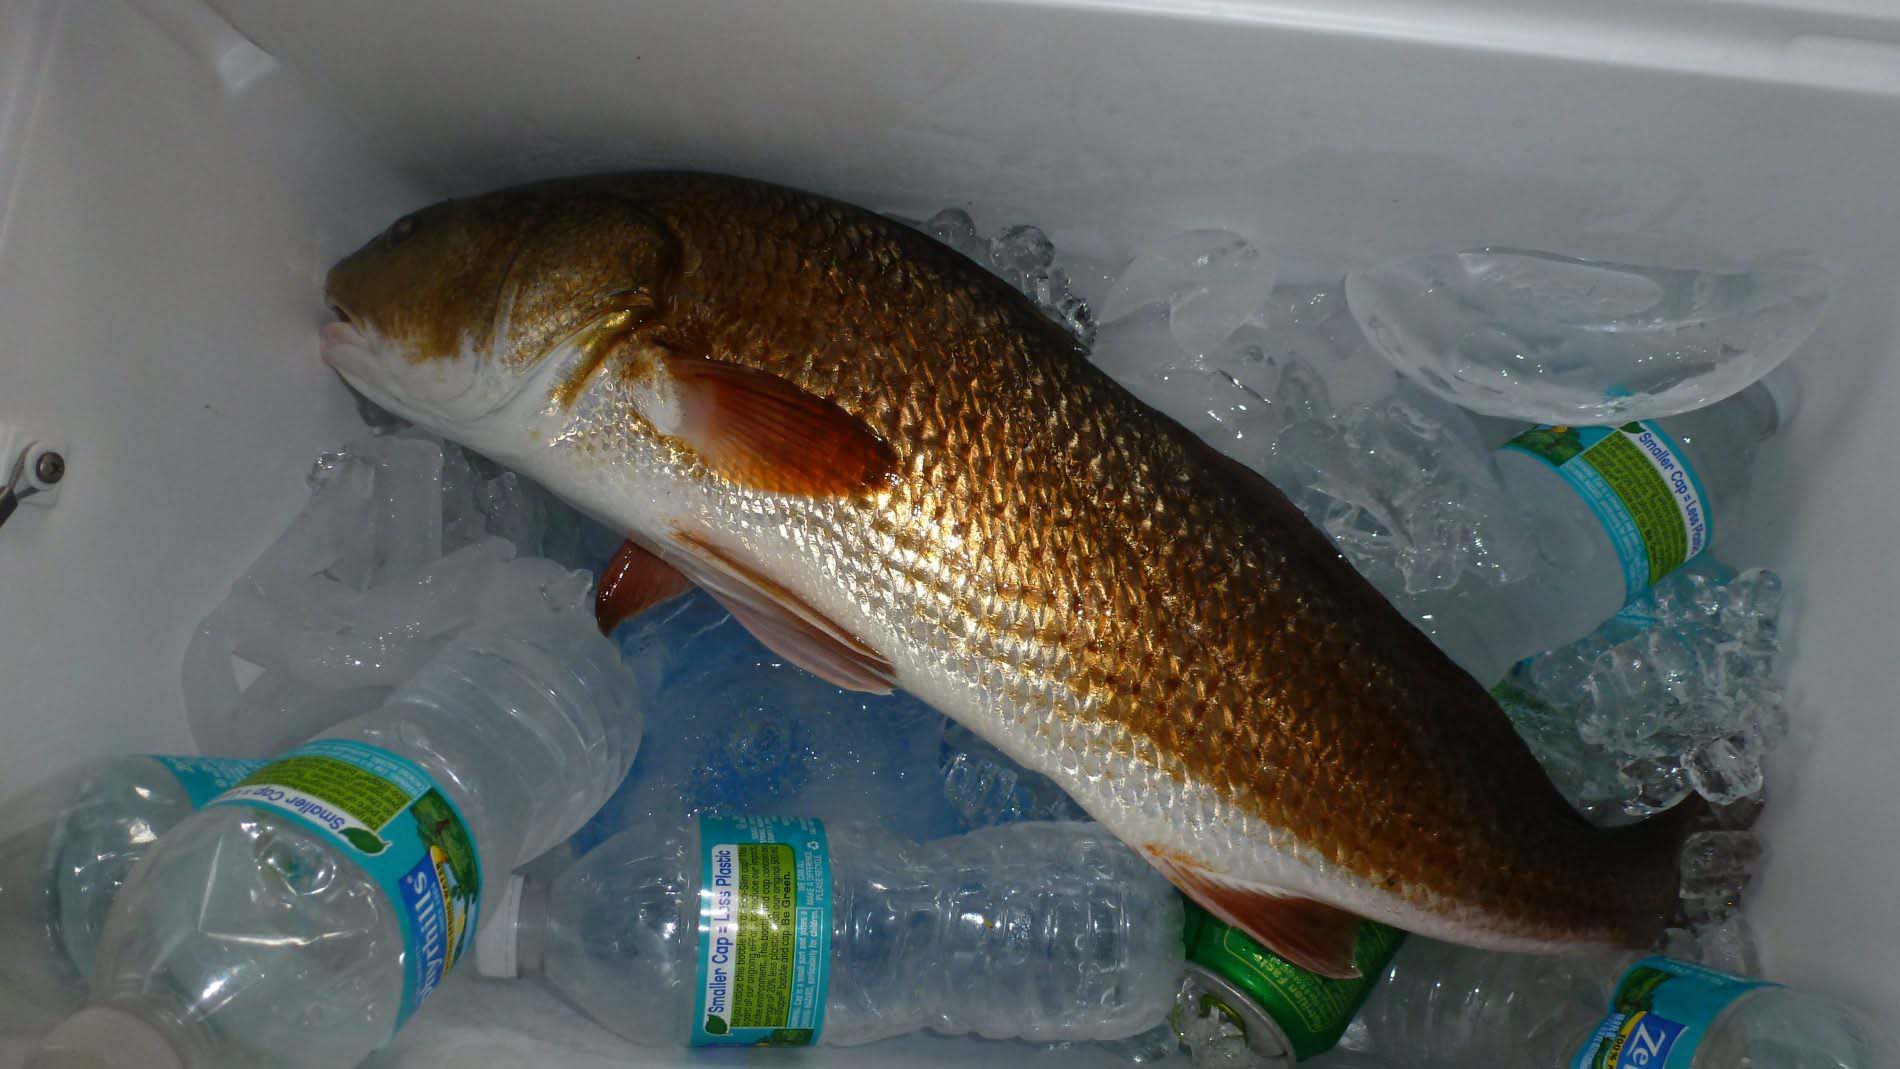
- Be careful with a sharp fillet knife and slippery fish, especially if you have to cut through thick scales. I have personally seen several people, fishing captains included, slip while filleting a redfish and cut themselves quite deeply.
Tools Required
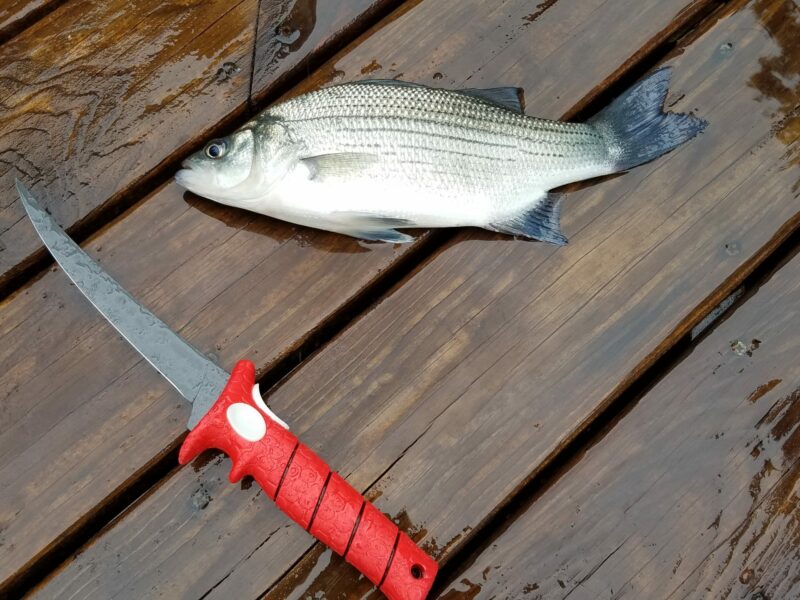
- Sharp fillet knife with a thin flexible blade
- Fillet table, cutting board, or counter top
- Dead fish – don’t fillet them alive, they’ll jump while you’re working, and it just seems mean.
- Knife sharpener – I usually resharpen my knife between sides or fish depending on what type I’m filleting
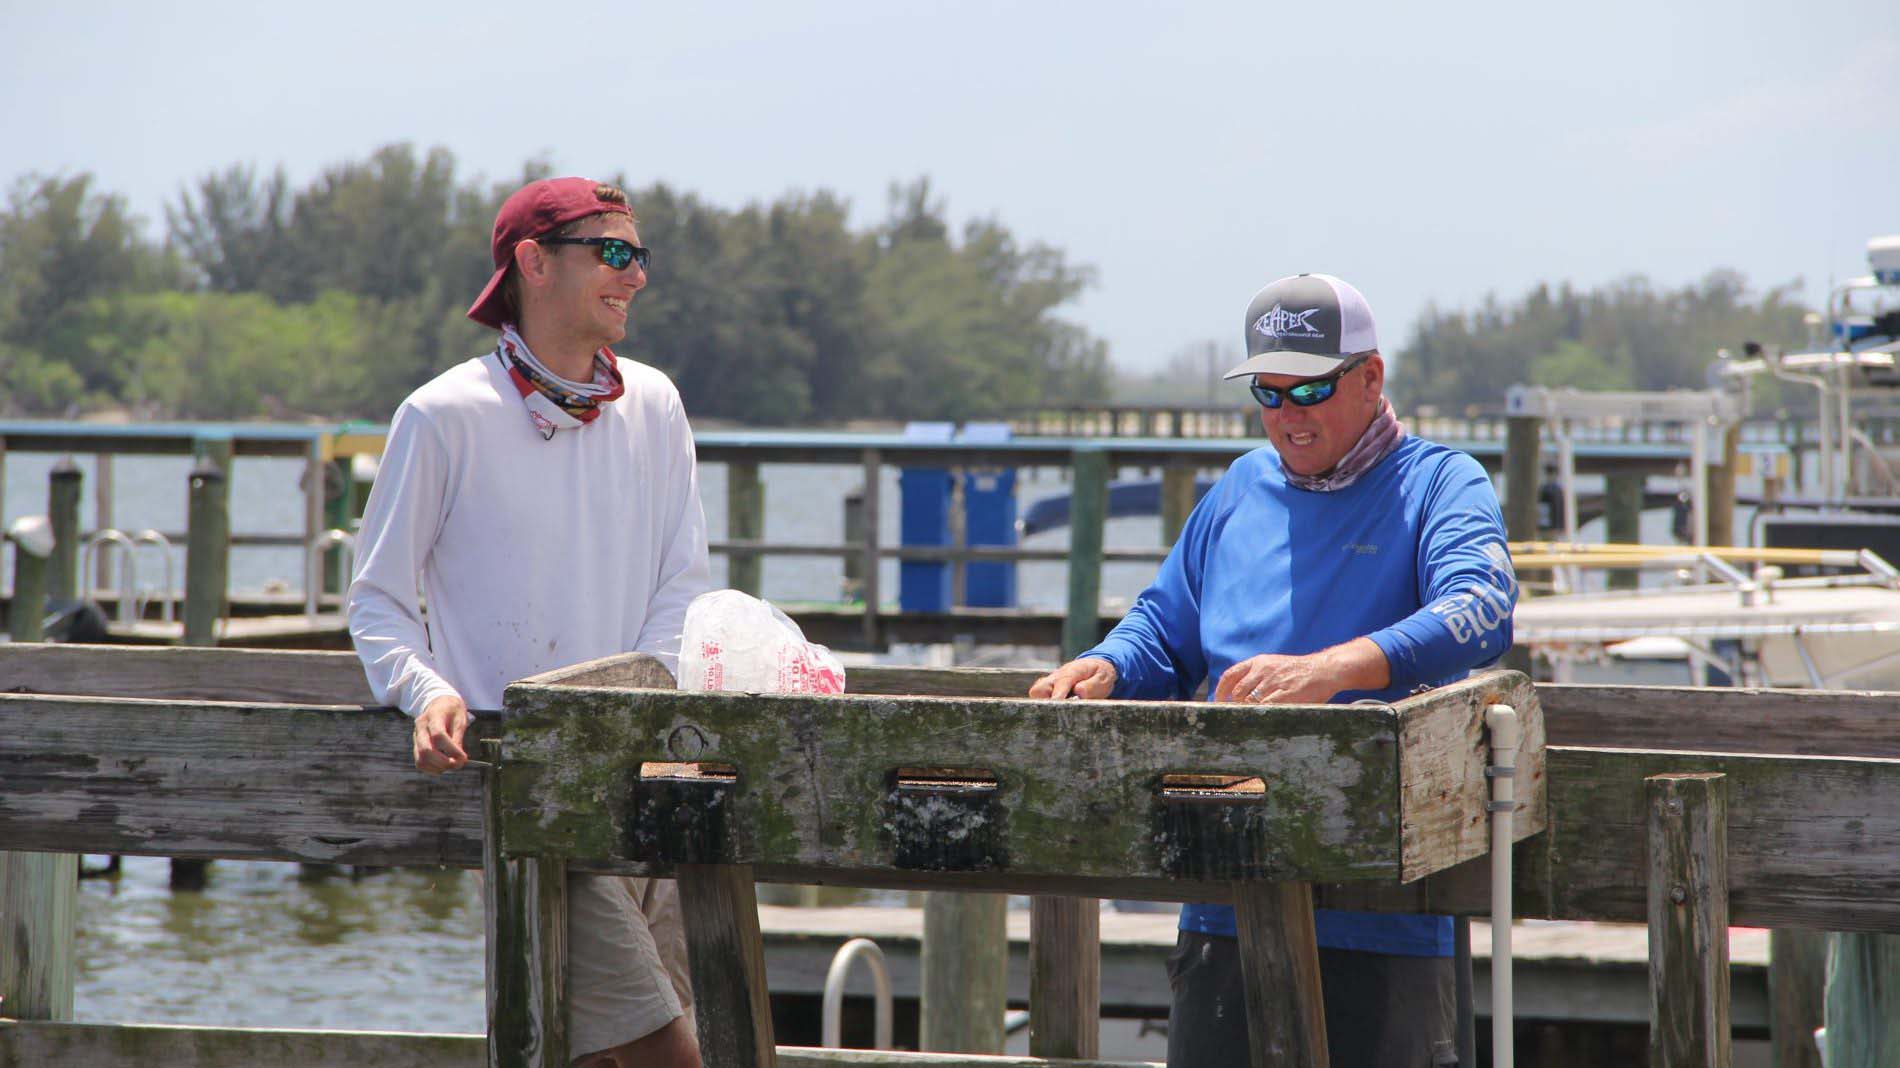
Where to Fillet
Plan to fillet your catch outdoors on a fillet table with a hose or even just a sheet of plywood propped up to waist level. Basically anything flat that you can cut on and then spray down with a hose. You could use your kitchen counter, but just know it will smell like fish for a while and the fish slime, guts, and blood will get everywhere.
Steps To Fillet a Fish
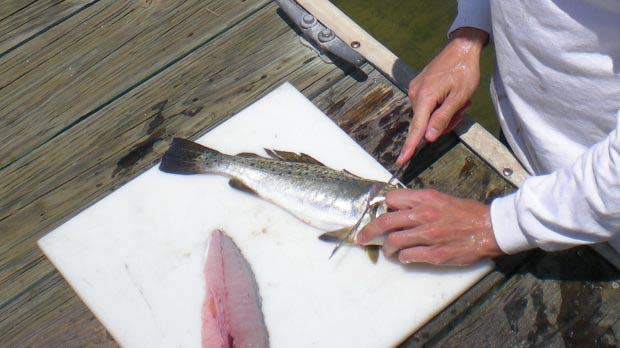
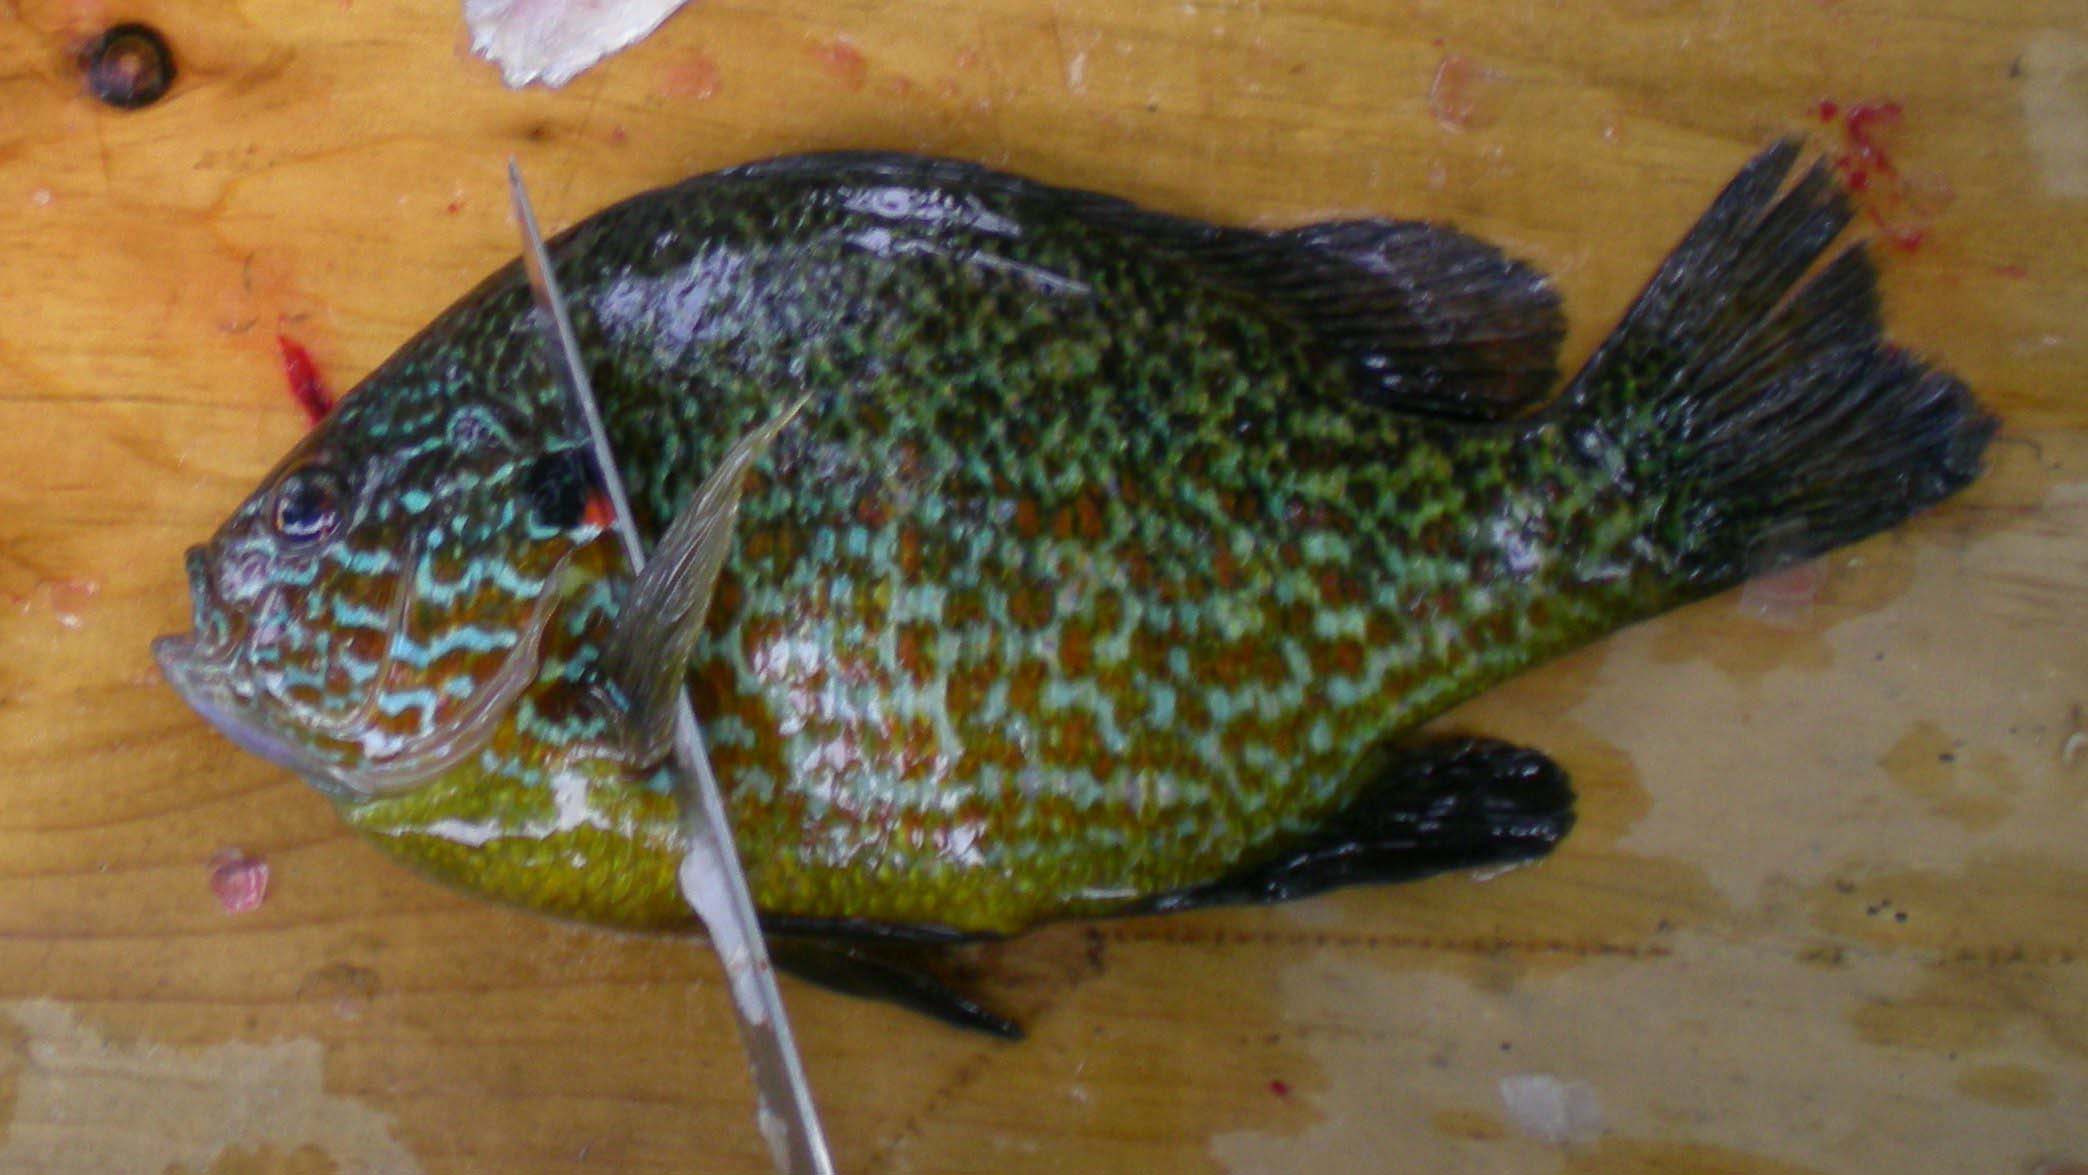
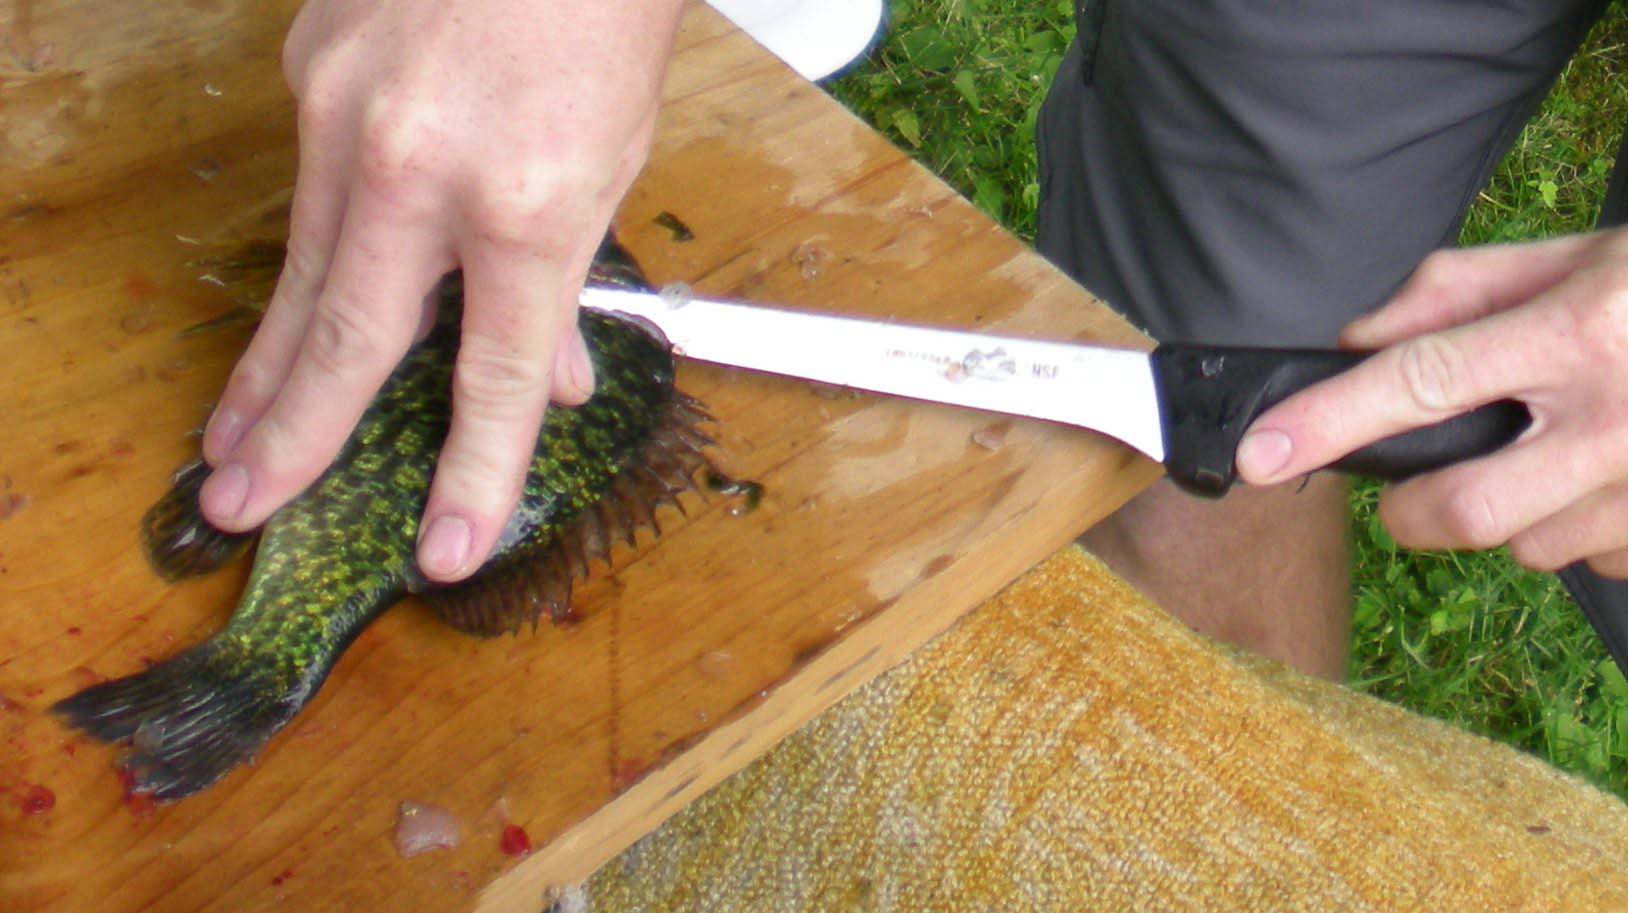
- Lay your fish down flat on the cutting board and use your fillet knife to slice a diagonal cut from just behind the front fin halfway through the fish. Cut up to but do not cut through the backbone.
Pro Tip: I like to lift up the small pectoral fin and slice right up under it.


- Grip the fish by the head and use the knife flat against the backbone with a sawing motion to create a cut about an inch or so deep from the top of your slice to the end of the tail. This cut is where you will begin removing the meat from the backbone.
Pro tip: Feel free to turn the fish at whatever angle you want to make this step and the next step easier to achieve.

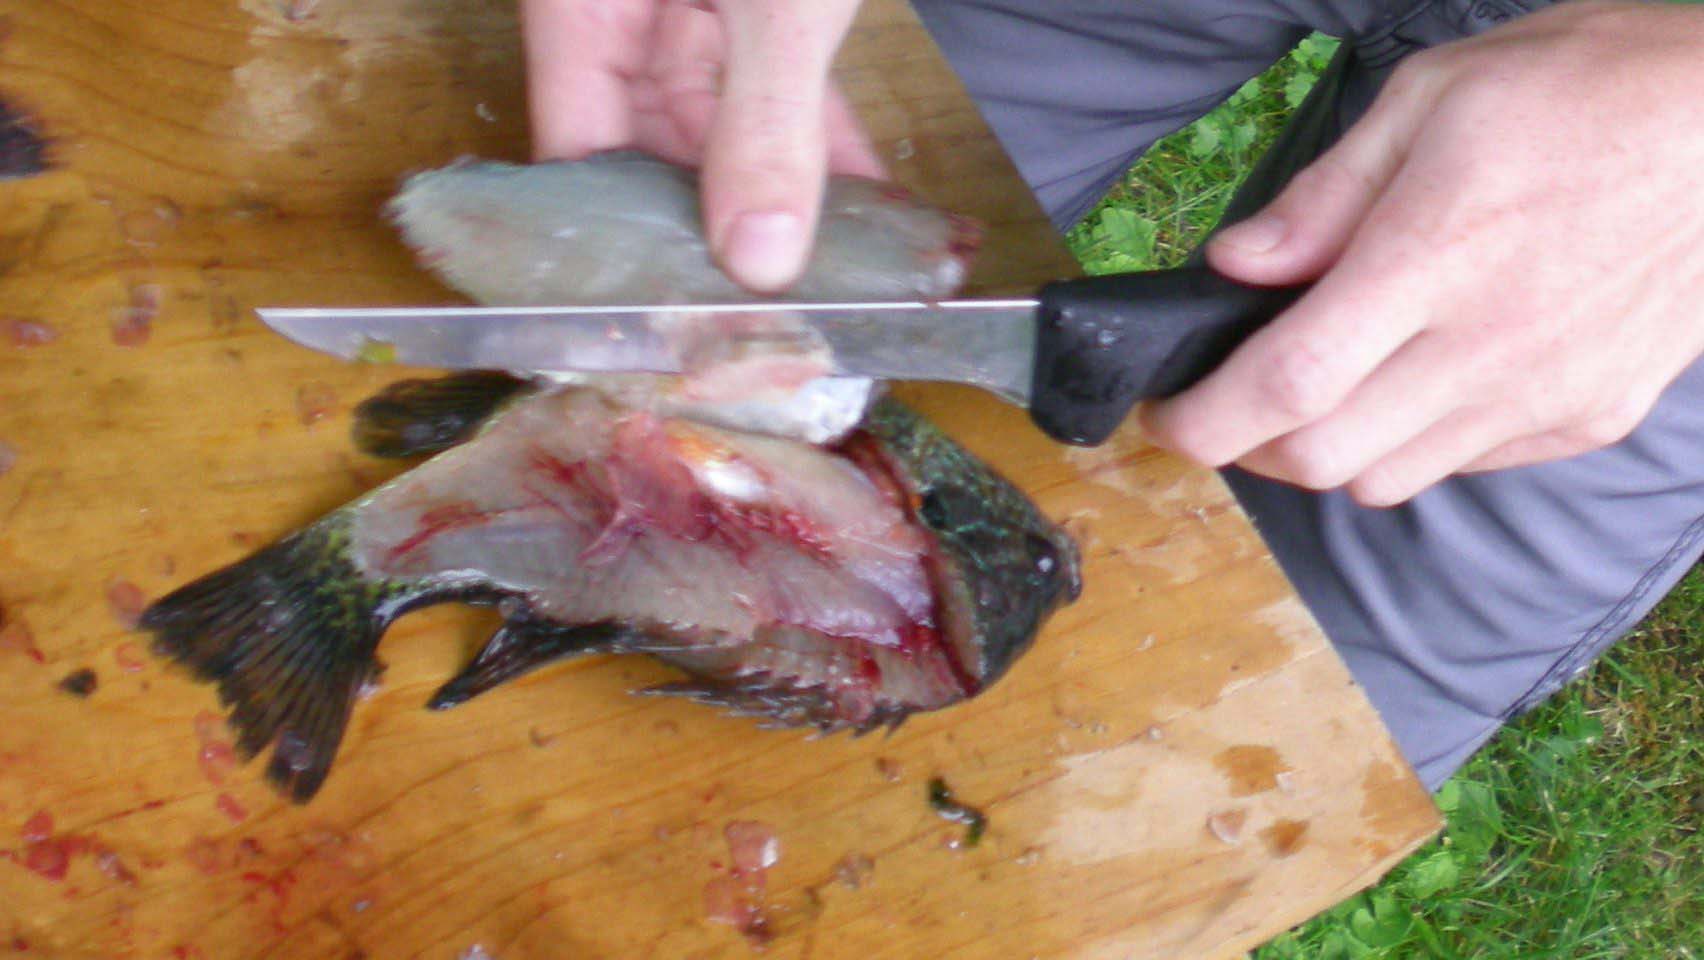
- Now peel the fillet away from the backbone along your prior cut with one hand while you slice and pare the remaining meat off of the bones. Take your time and use small slices. Removing the meat from the rib cage of the fish is the trickiest part because it has a convex shape. Do your best and try to use the flex of the knife to help here. Remember this takes a lot of practice. The goal for this step is to completely remove the good meat from one side of the fish.
Pro Tip: This is where it is important for your knife to be sharp and flexible to cleanly slice the flesh from the bones. Don’t cut too much at once or you’ll leave good meat.

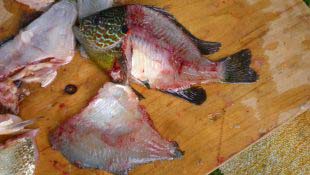
- If you did steps 1-3 correctly your fillet is now separated from the fish. If you haven’t scaled the fish then at this point you’ll want to remove the skin. To do this place the fillet skin side down on your cutting board. Start at the tail end and slice the flesh from the skin. Hold the knife at a 15 to 20-degree angle, and pull the skin tight rather than pushing or cutting through the meat with your knife. Blade angle is very important. If the blade is too flat it will leave some skin on the fish and the cut will be rough. If the blade angle is too steep it will cut holes in the skin and make it very hard to continue removing the skin.
Pro Tip: Use a cutting board with a clip or cut a hole in the skin to keep it pinned down firmly to the cutting board. Keeping the skin flat and tight makes it much easier to remove.

- The fillets are done at this point, but there are a few optional steps you can take to clean them up a bit. To remove small bones take a pair of tweezers and pull them out. You can also trim away the bad areas of fish such as fatty stomach meat.
Pro Tip: If you’ve been paying attention you’ll realize you still have another side of the fish to fillet. Flip it over and start back at step one, good luck!
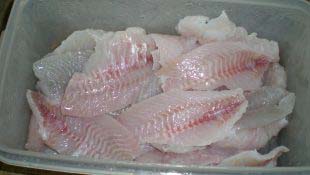
We would love to see any pictures of your fillets! Post it on Instagram and tag us @bassgrab
Don’t expect your fillets to be perfect or anywhere close to it on your first few fish. It takes a lot of practice to be able to do it as quickly and cleanly as a boat mate! Or if you don’t have any luck, you can always order fish!
You might also like
- Top Fillet Knives for Fish https://www.bassgrab.com/wp-content/uploads/bubba-blade-fillet-fish-scaled-e1645815619849-1200x675.jpg 1080 608 BassGrab https://www.bassgrab.com/wp-content/uploads/bubba-blade-fillet-fish-scaled-e1645815619849-1200x675.jpg

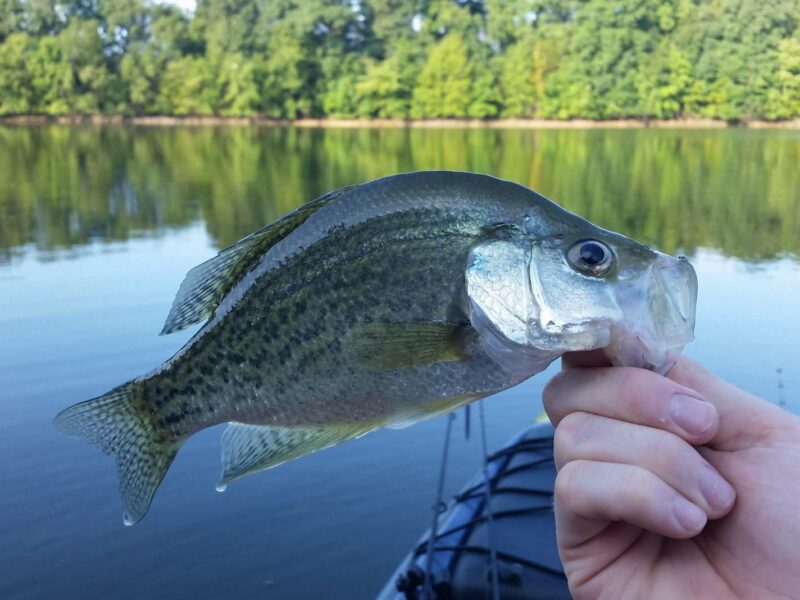
- How to Catch Crappie https://www.bassgrab.com/wp-content/uploads/Crappie-e1649861937801-1200x675.jpg 1080 608 BassGrab https://www.bassgrab.com/wp-content/uploads/Crappie-e1649861937801-1200x675.jpg
- Toadfish Stowaway Travel Spinning Rod Review https://www.bassgrab.com/wp-content/uploads/IMG_1178-scaled-e1636057139690-1200x900.jpg 1080 810 BassGrab https://www.bassgrab.com/wp-content/uploads/IMG_1178-scaled-e1636057139690-1200x900.jpg